The Bonfire Build
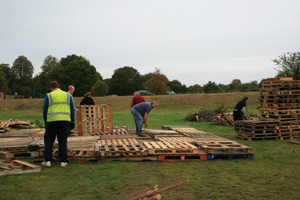
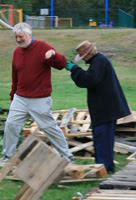
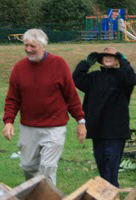
We build the bonfire on the three Sundays before the event. All help is welcome so if you would like to join us you will find us on the Green from 9–12 am and then in the Cricket Club afterwards!
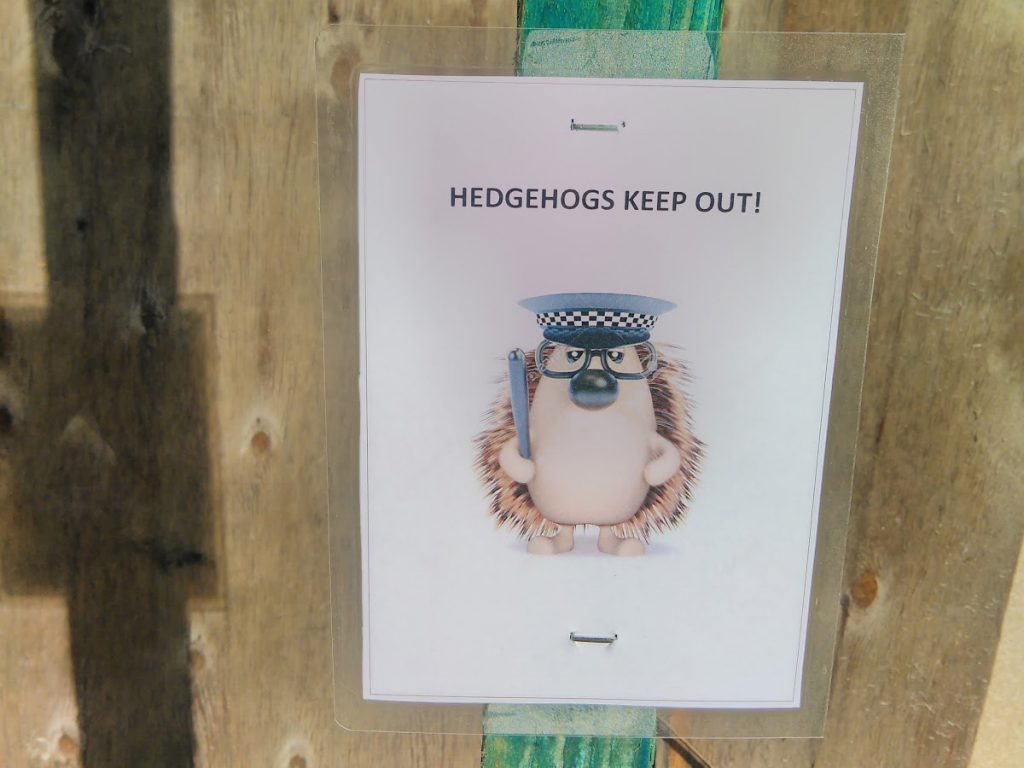
At Ripley Bonfire we take hedgehog protection very seriously. As soon as we start building the bonfire we erect a solid barrier around the bottom up to a height of approximately three foot to stop any hedgehogs from entering the bonfire.

HOW TO BUILD A BONFIRE
There are many ways to build a bonfire, however, all of them start with three essential ingredients:


Once you have these three ingredients assembled, in the same place, at the same time you can begin!

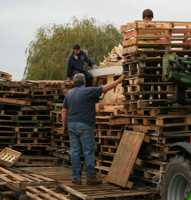
This is not as easy as it may seem. The Head Bonfire Builder will have to use his many years of experience to assess the amount of material we have, against the square meterage of area available, against the desired height of the bonfire. Only once this assessment has been completed are you able to accurately mark out the footings of your bonfire and start building it up, layer by layer.
Don’t forget the Golden Rule of all Bonfire Builders – HAVE FUN!!!

It is important to ensure that whilst building the bonfire you use a variety of different sized pallets across each layer to ensure that they interlock and thus remain stable.
It is also very important that you keep each layer as level as you can. Based on the material available this is not always possible!
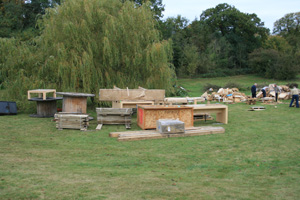
If you have a particularly large amount of irregular or unsightly material, it may be necessary to use the Hollowing Technique. This is where you build a three sided frame around a central hollow which can then be filled as required.
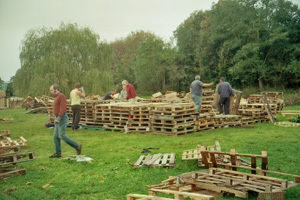
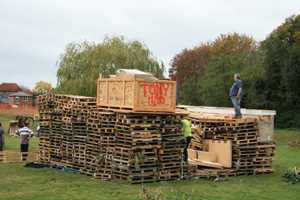
Once you have stacked all of your pallets and timber to form the central cube, before you start adding the shrubbery, you should secure the bonfire by nailing planks across it laterally and placing poles at each corner. This enables you to tie in the bonfire, which will ensure that it does not fall over prior to Bonfire Night and will also help the bonfire to collapse inwards once it is burning.
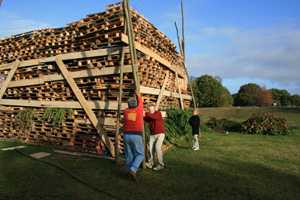
Once you have secured the lateral planks and the corner poles, you are ready for the dressing of the bonfire.
Cut your shrubbery into sections that can be fed inbetween the pallets. Start at the bottom of the bonfire and work your way up.
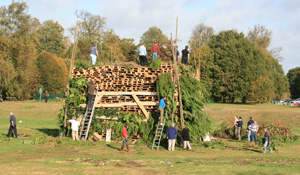

Finally, once all the sides have been dressed all the way to the top you can start the final part of the build, the Topping Out Ceremony.
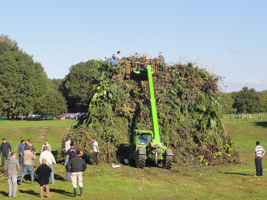
This is when all remaining shrubbery is placed on top of the bonfire to achieve its final height. You must be careful at this point to keep an eye on your Bonfire Boys as they can easily become buried and lost on the top of the bonfire!


Eventually, after several Sunday mornings of hard work, you are ready to put the final load on the top.
All that now remains is to sit back, relax …

And admire the view …

Job done!